Here is a checklist to make sure everything is covered on your hay storage shed project for this hay season.
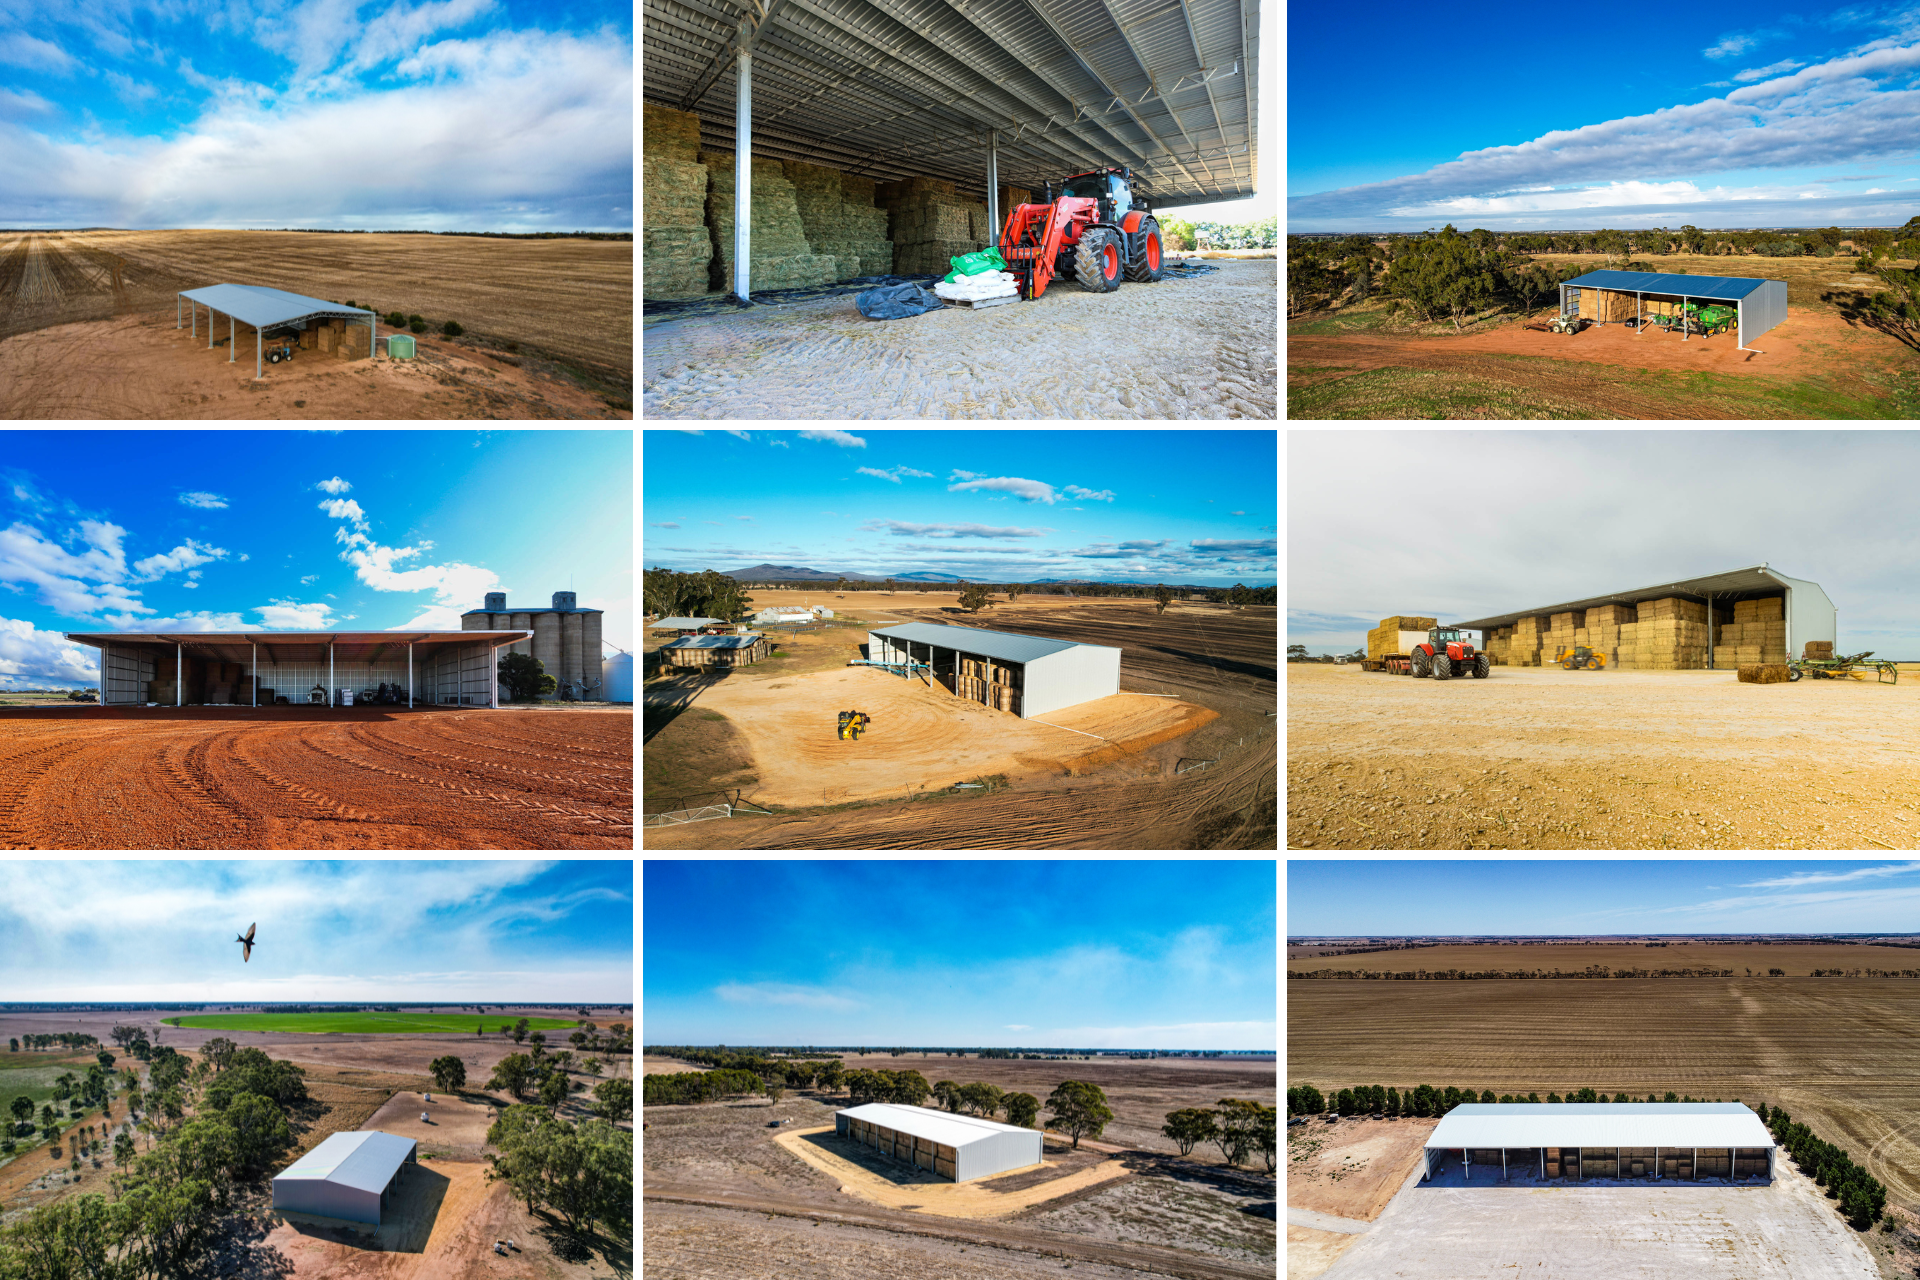
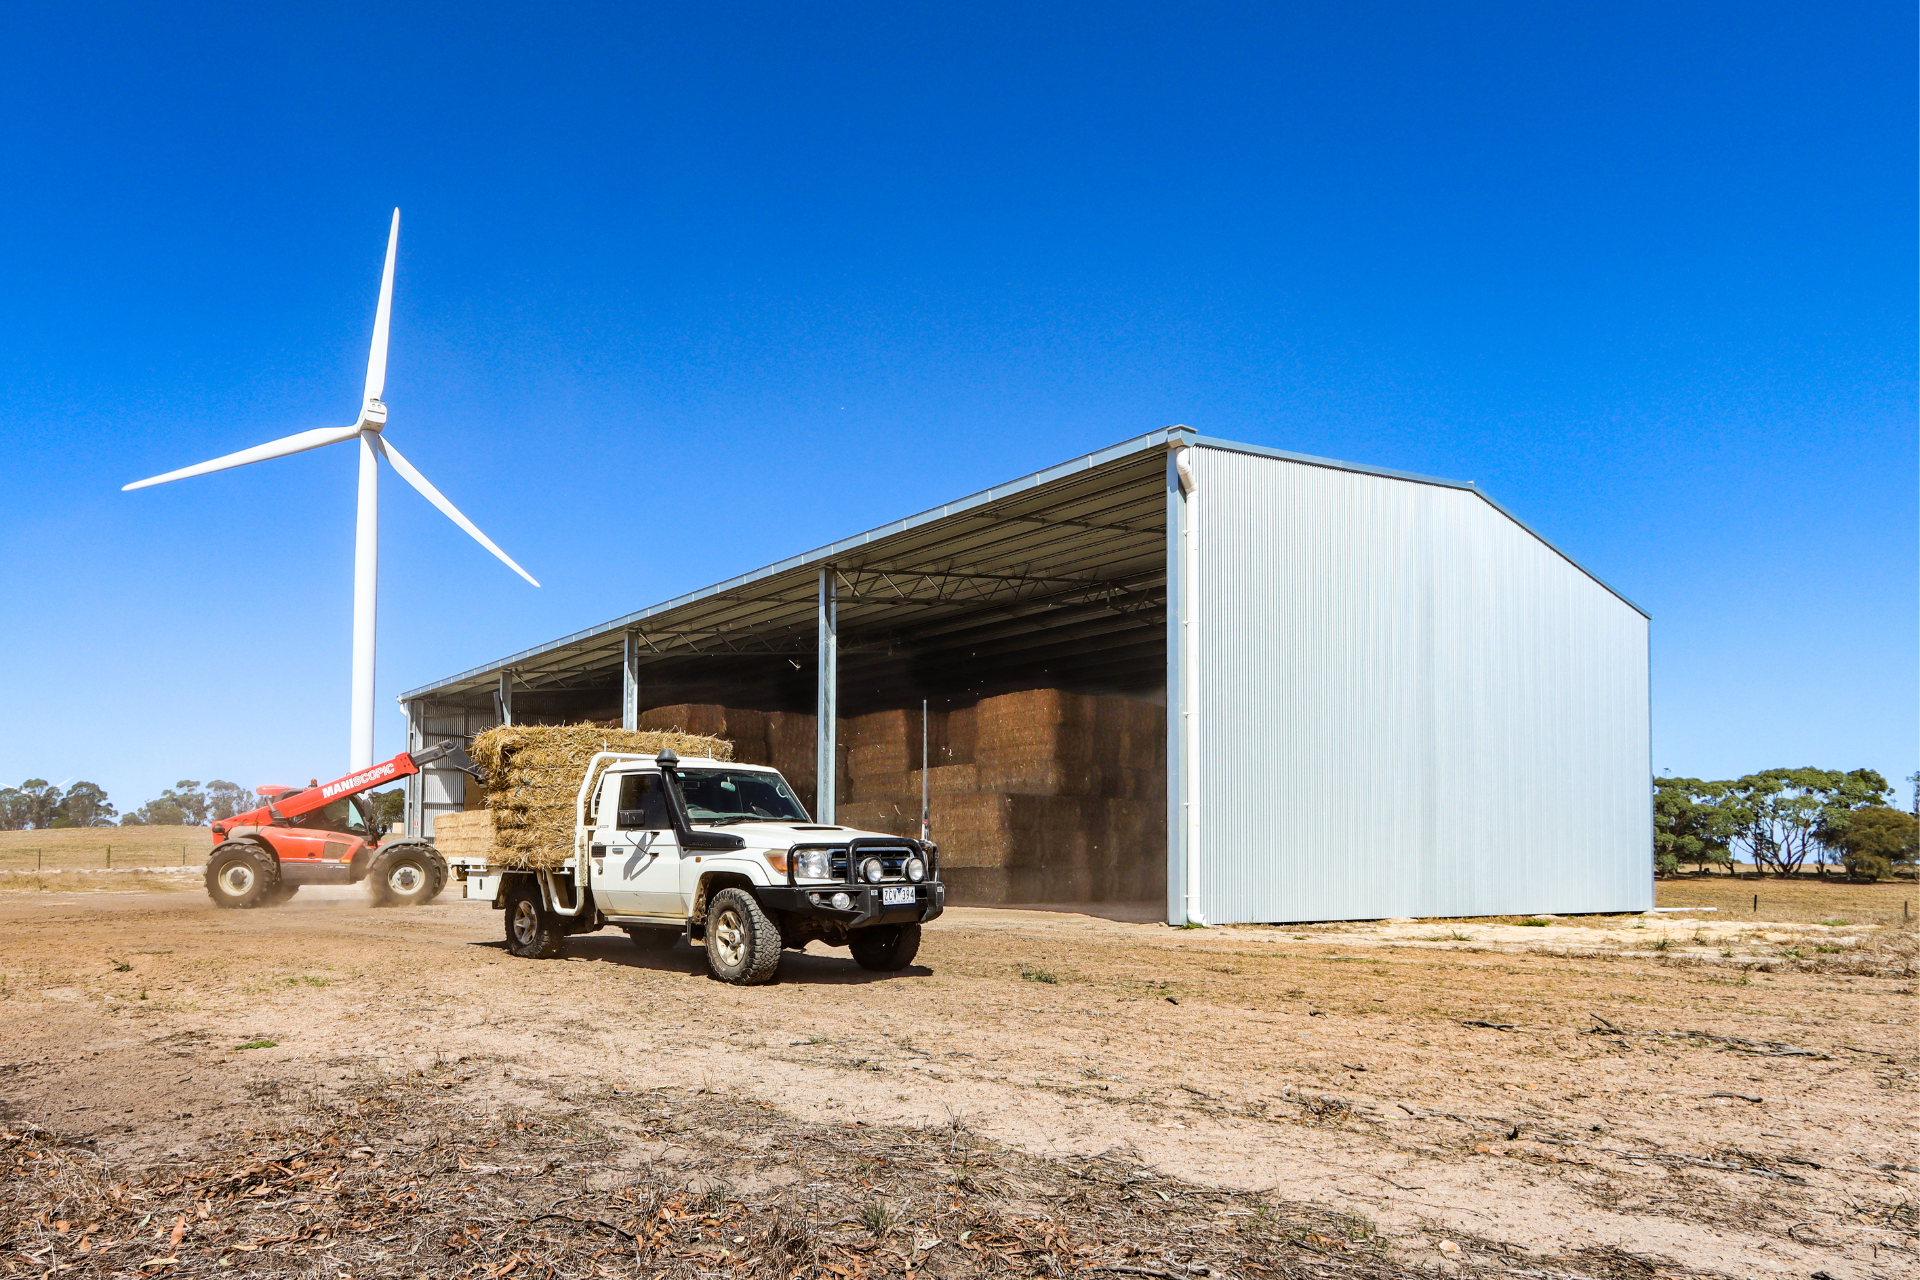
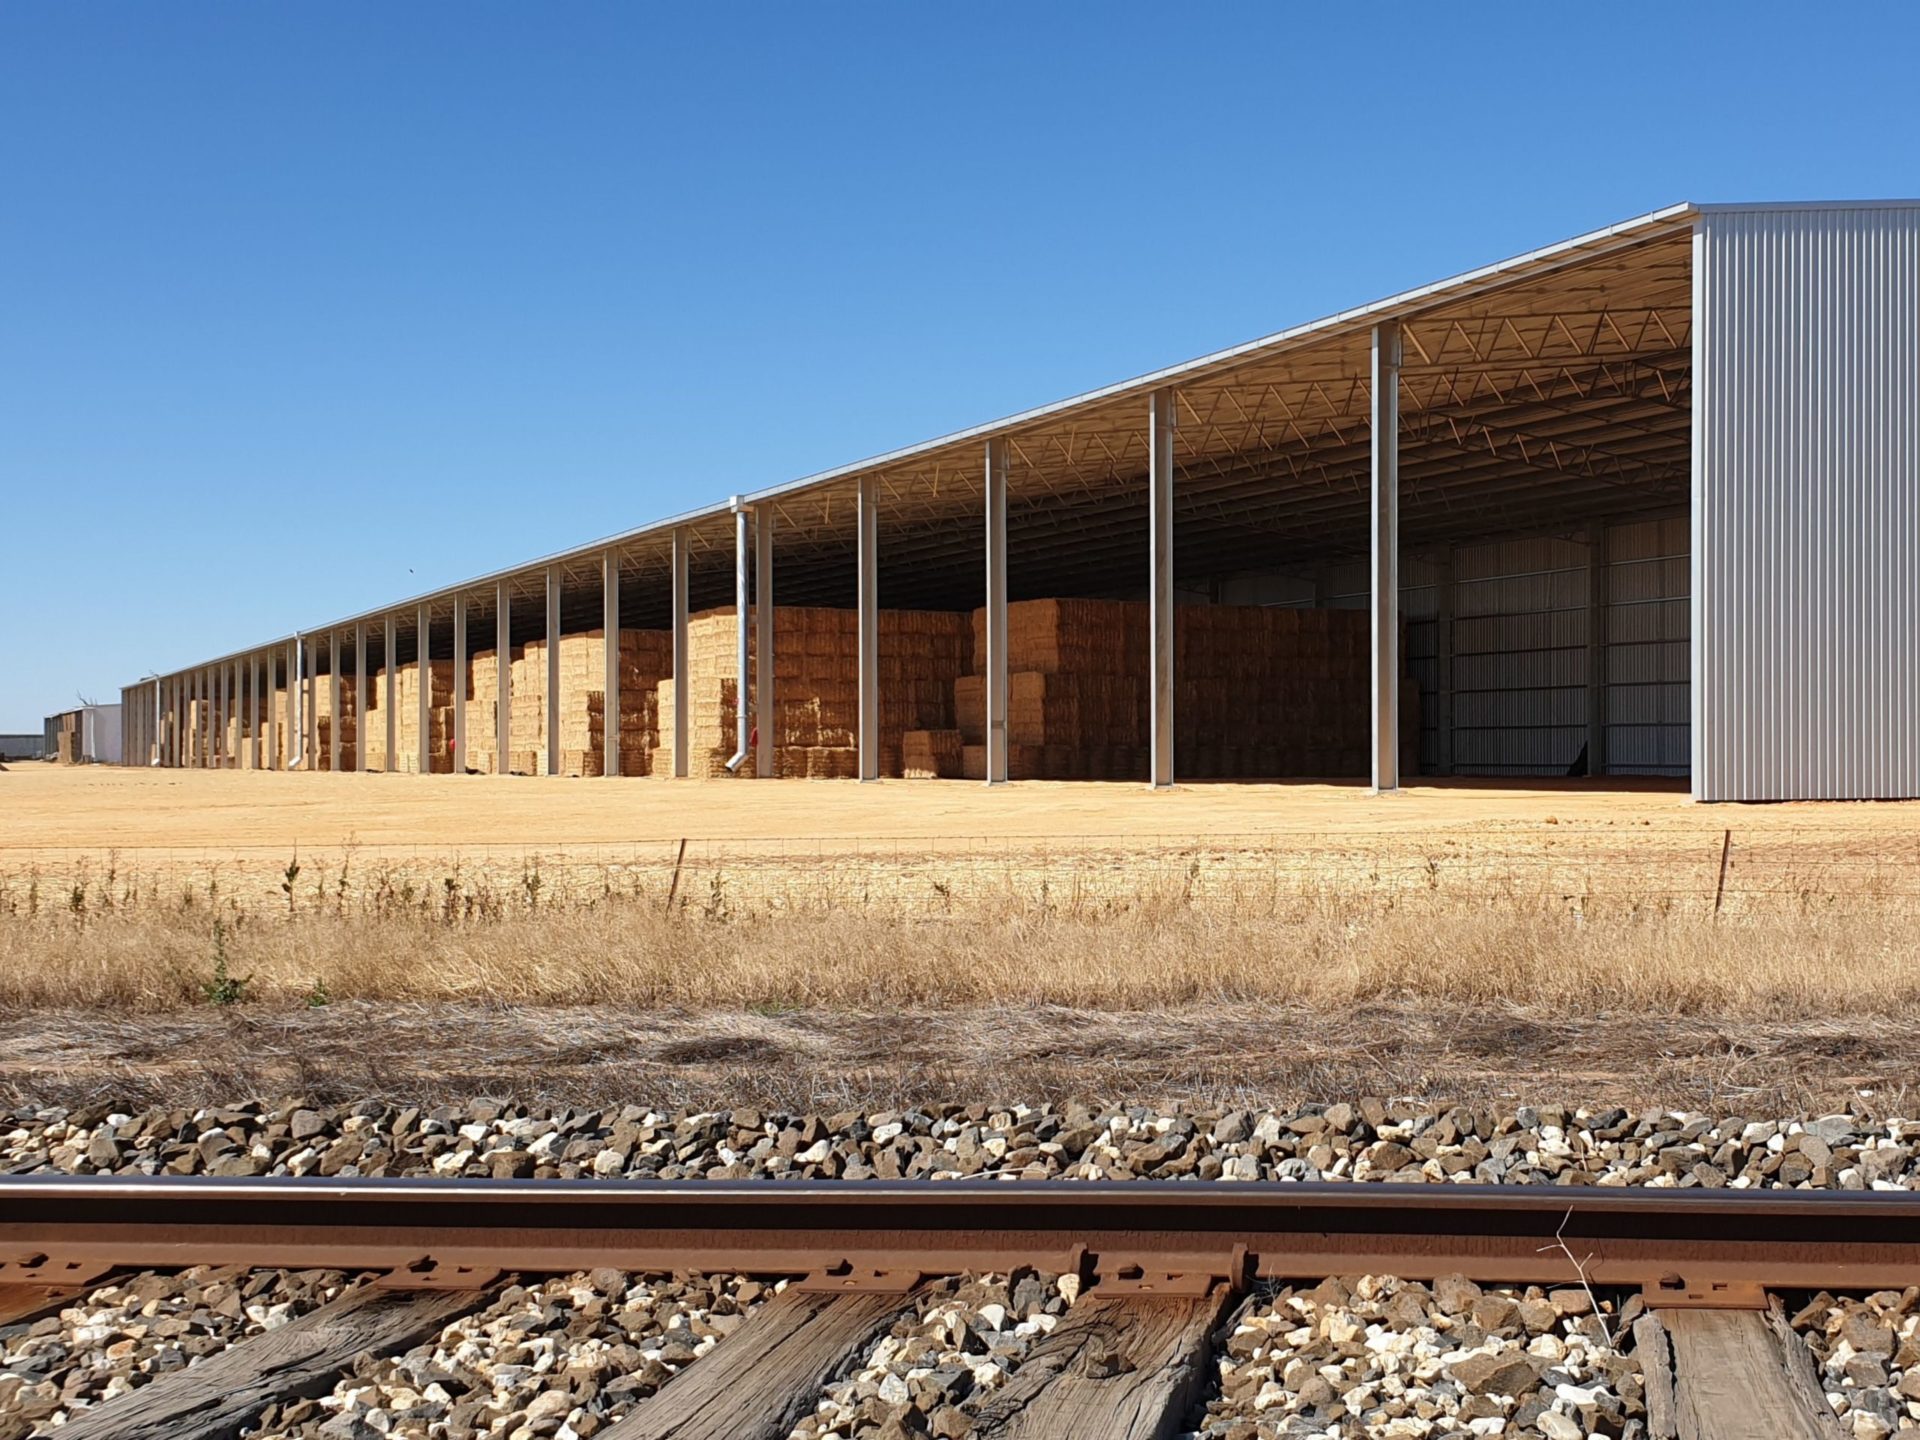
Open-front hay shed
There are certainly many benefits in having an open-front hay shed to store this season’s hay.
An open fronted configuration ensures the best protection possible for your hay, protecting it from weather damage and dry matter loss while also keeping the shed well ventilated. Open front hay sheds also allow for easy access to your hay to make testing the hay with a moisture probe very straightforward.
If your budget doesn’t suit a three-sided shed, provision can easily be made to clad a roof-only shed in the future.

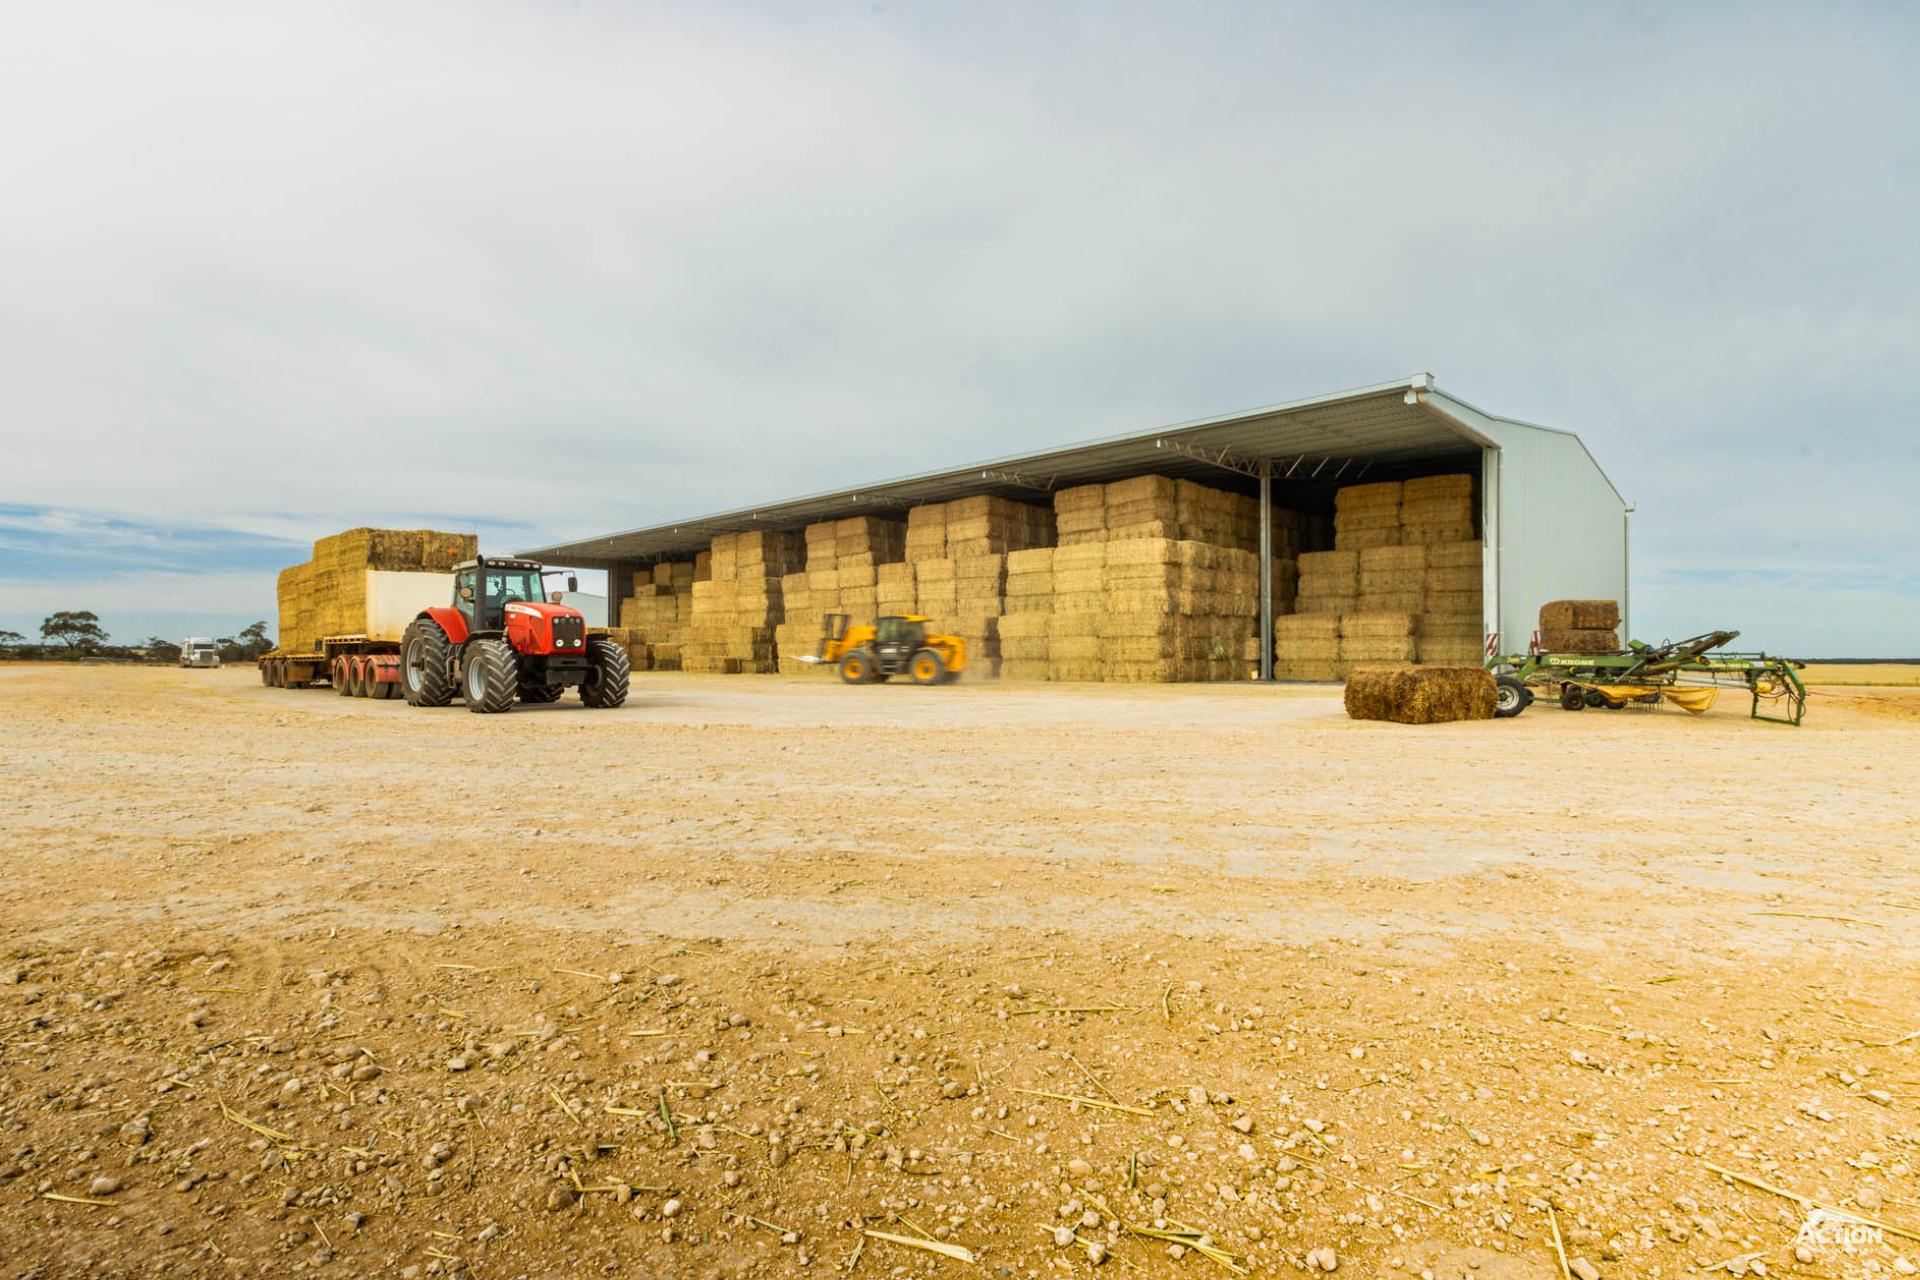
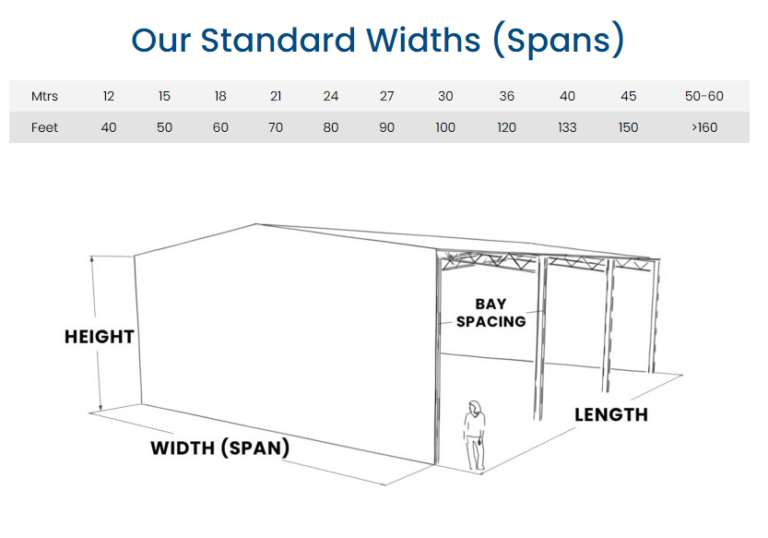
Bay spacing
The most cost-effective and practical bay spacing for hay sheds are between 8 metres and 8.5 metres. These allow three big square bales (or five round bales) to be stacked between each column.
Cladding profile
The two options for cladding profile are the traditional corrugated iron and a more modern, squarer profile, Trimclad®. Both options Action offers are Australian-made product.
Trimclad®, also known as Sureclad® or Trimdek®, is more popular due to its more modern appearance.
Plumbing and gutter system
If you are investing in a new hay shed to protect your hay, it is important to get details like the guttering system right.
Installing Action’s Custom Gutter System on your hay shed allows downpipes to be plumbed to one end, rather than having downpipes down the face of each column. This system helps prevent downpipes being damaged and broken by loaders and telehandlers.
Shed orientation
Opening a shed to the east is by far the most common choice because generally very little weather comes from the east.
An east-facing shed will result in some morning sun on the front of the shed, meaning that the pad will keep relatively dry, but for the remainder of the day the hay will be protected from the direct sunlight.
Preparing the shed site
The first step to proper site preparation is choosing the best location for your shed based on machinery access, exposure to the weather and other factors.
It is always best to prepare the pad for your shed prior to the shed being erected. It is very difficult to spread fill or gravel around the columns and under wall cladding after the shed is installed.
Allow the site to consolidate for a few weeks prior to shed installation and fill in any low spots that may appear and ensure that the site is as level as possible.
Minimising the risk of fire
When planning your hay shed project keep the fire risk in mind and ideally keep hay sheds and major building spaced as far apart as possible to prevent the spread of fire.
Dry grass and flammable materials should be kept to a minimum around the hay shed – and never allow smoking in or near the shed.
Council requirements and approvals
As a general rule, all rural sheds including hay sheds are subject to some sort of approval.
Being Registered Builders, the team at Action can look after the whole permit process for you.
Your hay shed will also need to comply with fire design requirements.
Instant asset write-off
A primary producer can claim a deduction of the full cost of a fodder storage asset provided they meet the requirements e.g., the shed is mainly used to store fodder.
The deduction also has to be claimed in the year that the expense was incurred.
Insure your new hay shed
It always pays to keep your insurance policies up to date, and we often advise clients to have their insurance policies in place as soon as the shed is delivered – before it is erected.
We hope this checklist is a helpful resource for you as you plan your hay storage. If you would like more tips and suggestions, speak to one of our building consultants who will be happy to help.