Fertiliser shed designs are a hot topic!
Storing fertiliser on-farm is becoming much more common and a concrete panel fertiliser shed is the most effective and functional way to store granular fertiliser such as urea, MAP and DAP.
But which fertiliser shed designs are best?
The best fertiliser shed design will depend on factors like:
- the amount of fertiliser being stored
- the type of fertiliser being stored
- how you will be loading the shed.
It is also important to consider whether you require a multi-purpose shed or if you will be repurposing the shed in the future for grain storage or even machinery storage.
With this in mind, we discuss three of the best fertiliser shed designs available. This includes our standard range and how they can be customised to suit your requirements.
1
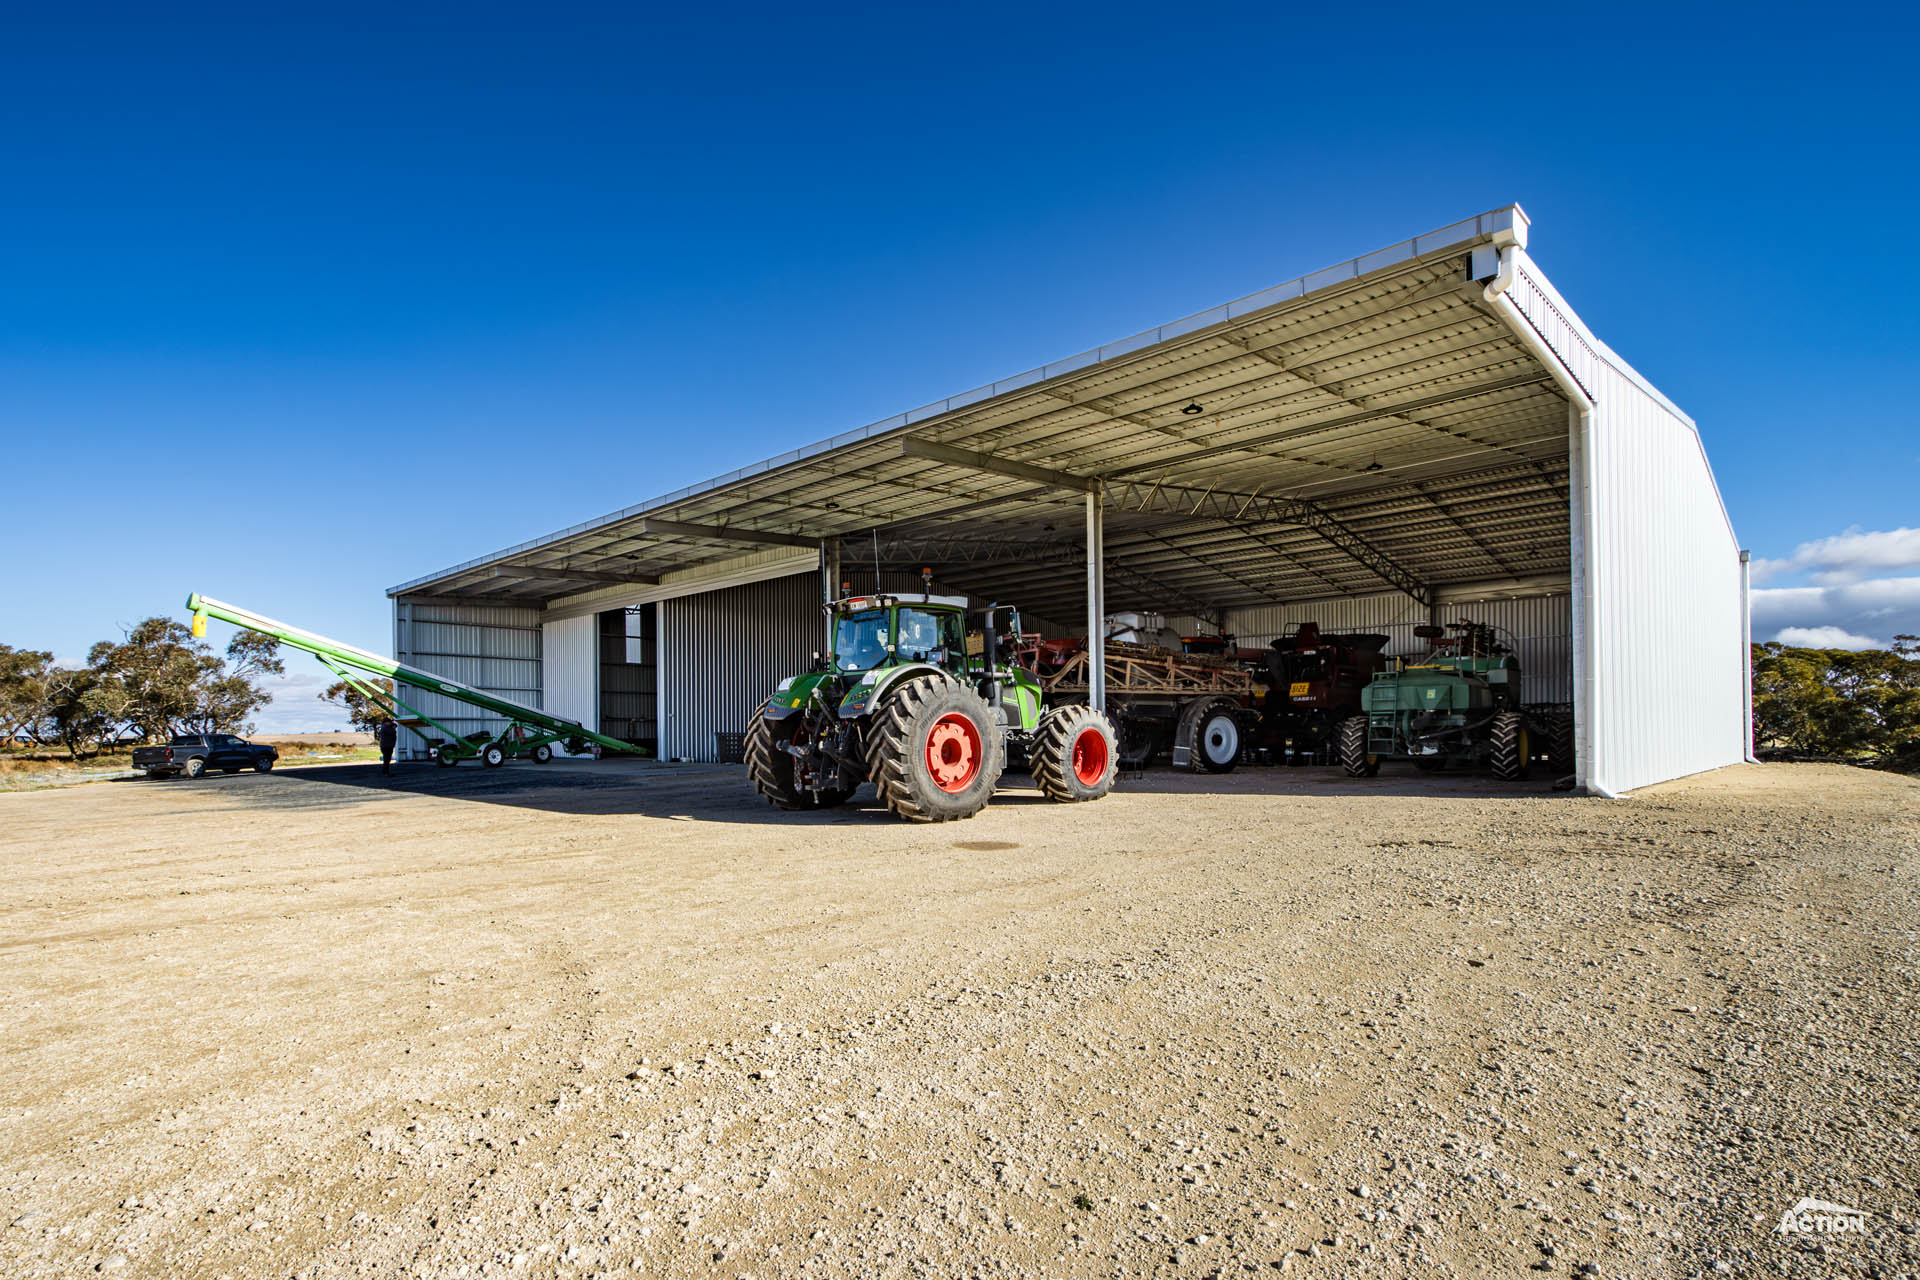
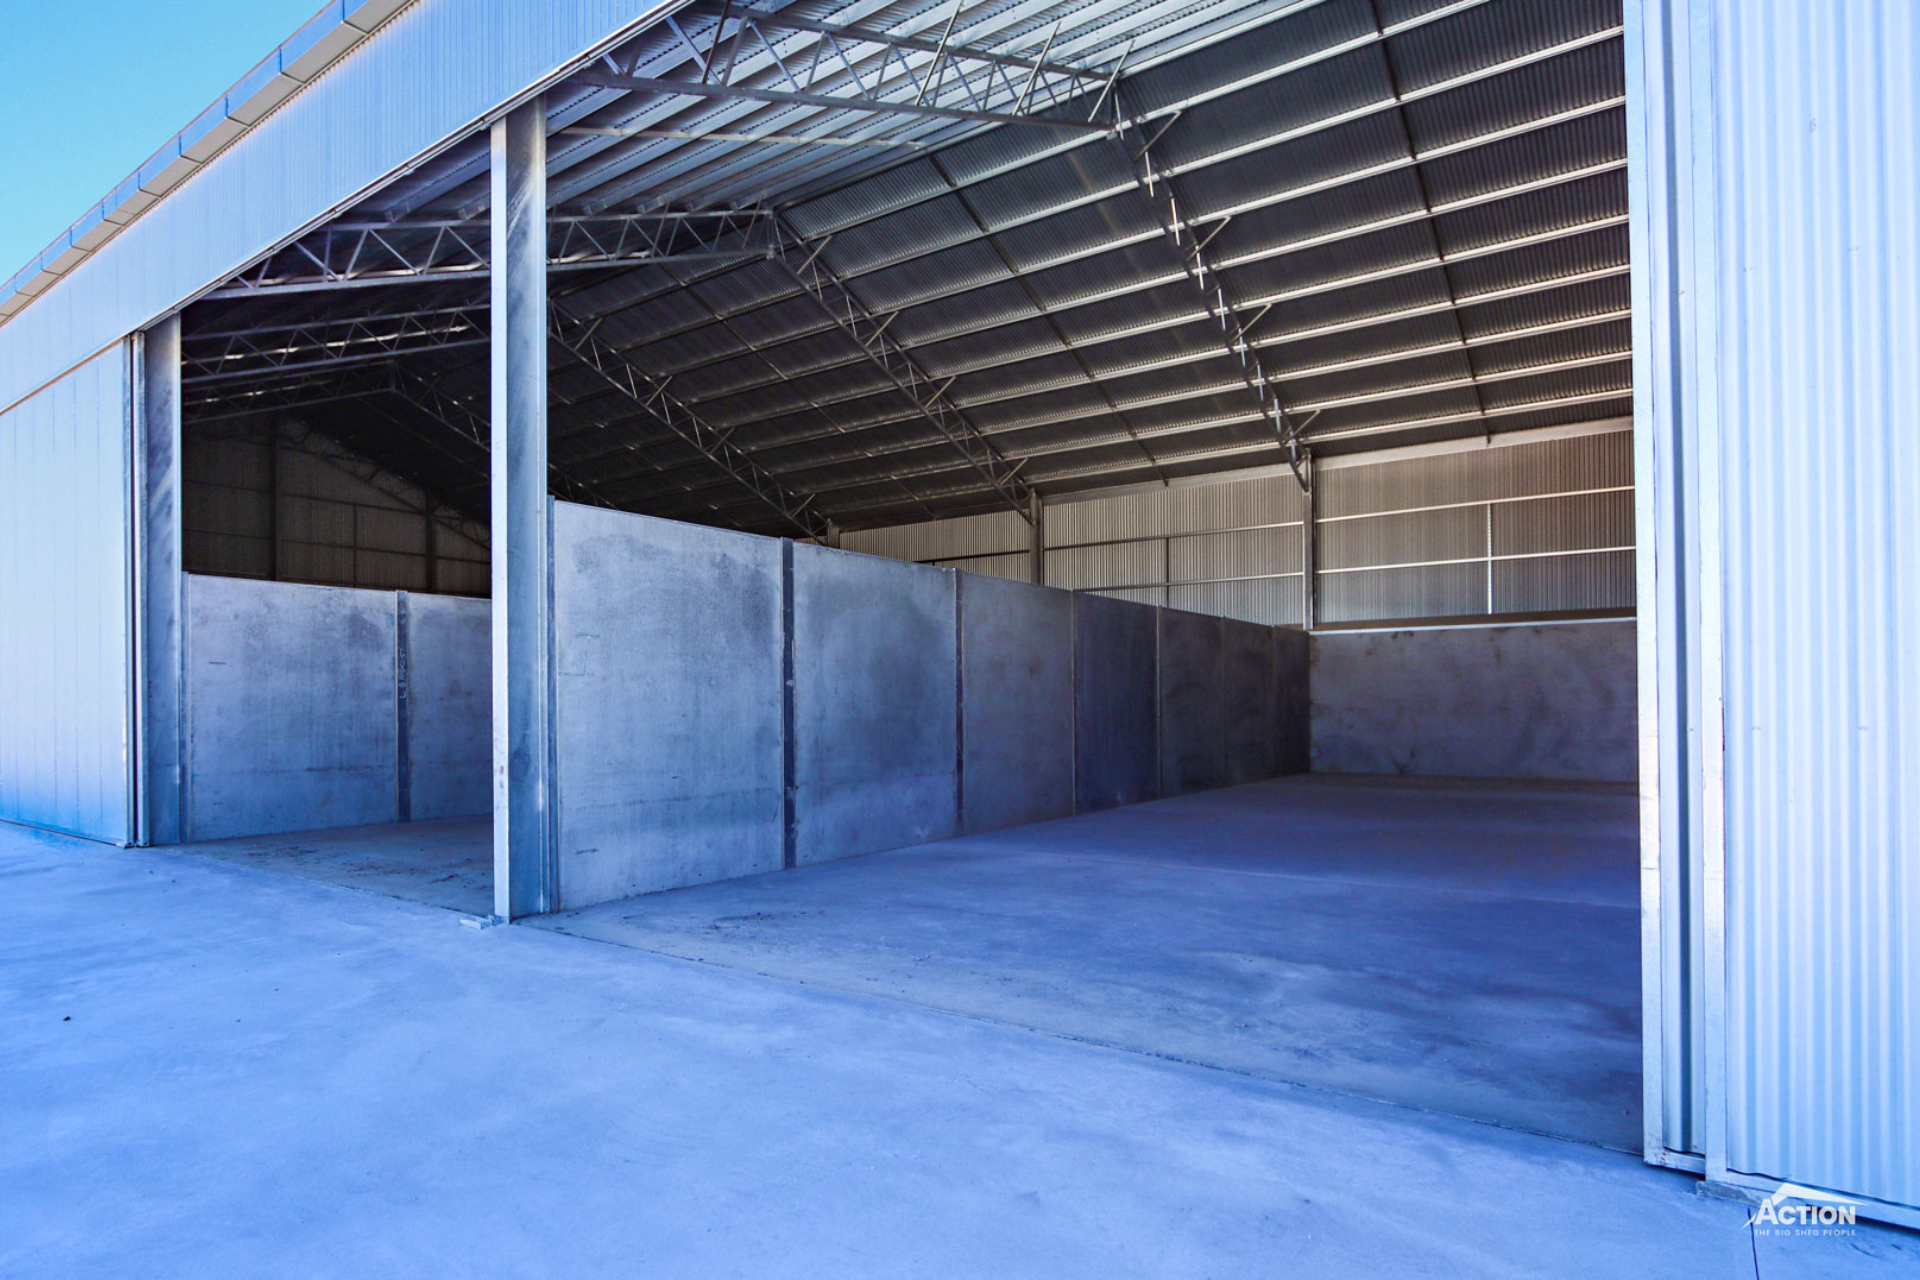
Concrete Panel Fertiliser Shed With Side Bay Access
This is one of the most versatile fertiliser shed designs and it is often used for multi-purpose sheds storing multiple fertiliser products and/or grain.
This design typically includes:
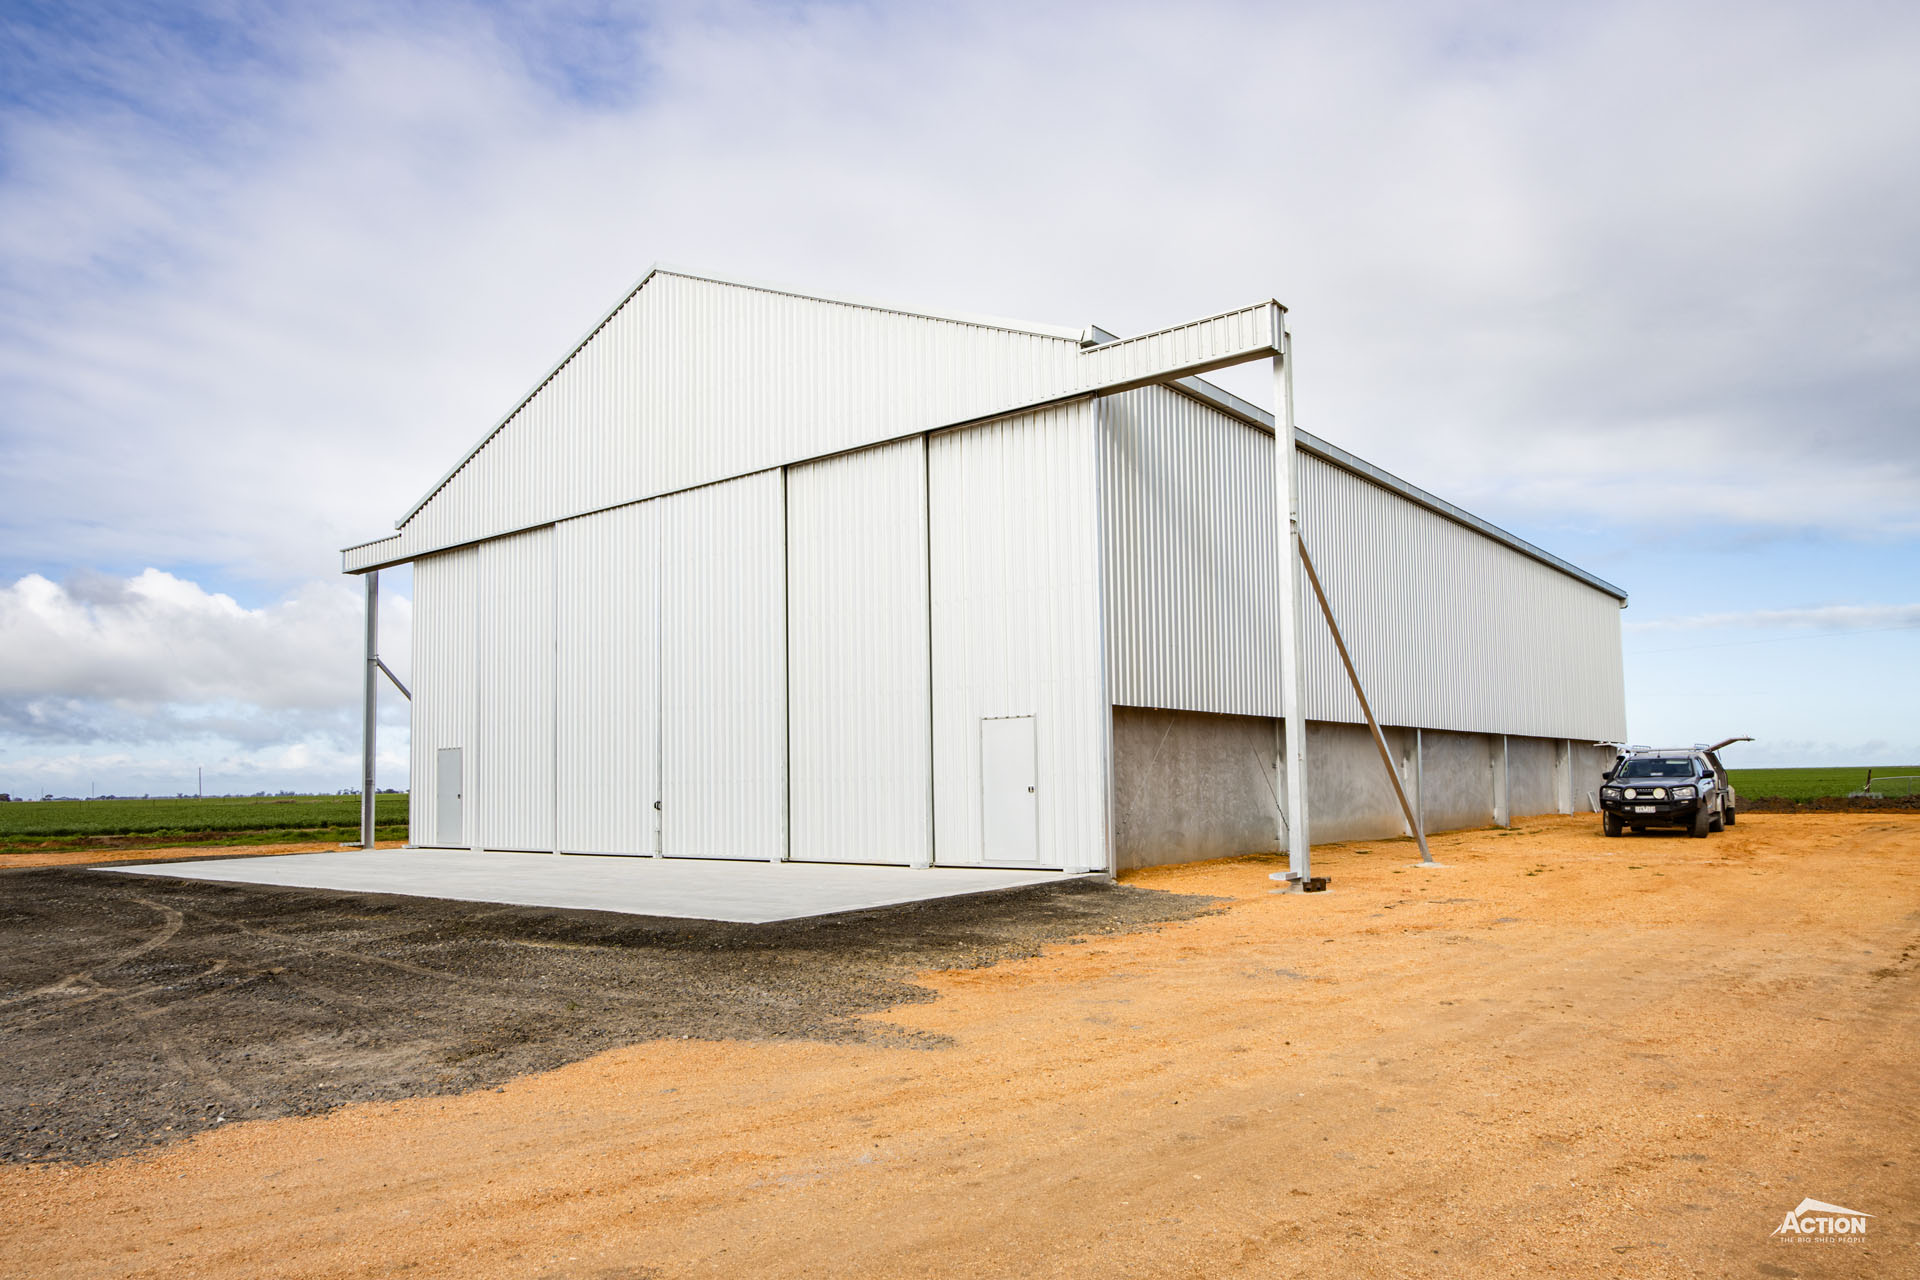
- A fully enclosed configuration for the ultimate weather protection.
- 3-metre-high concrete panels to three sides and segregated bays for storing multiple products.
- Sliding doors along one long side of the shed for easy access to the bays.
Customisation options for this design include tweaking the layout to include two or three segregated bays accessed from the long side and a bulk storage area accessed from a gable end.
This is ideal if you want to store both grain and fertiliser in the shed.
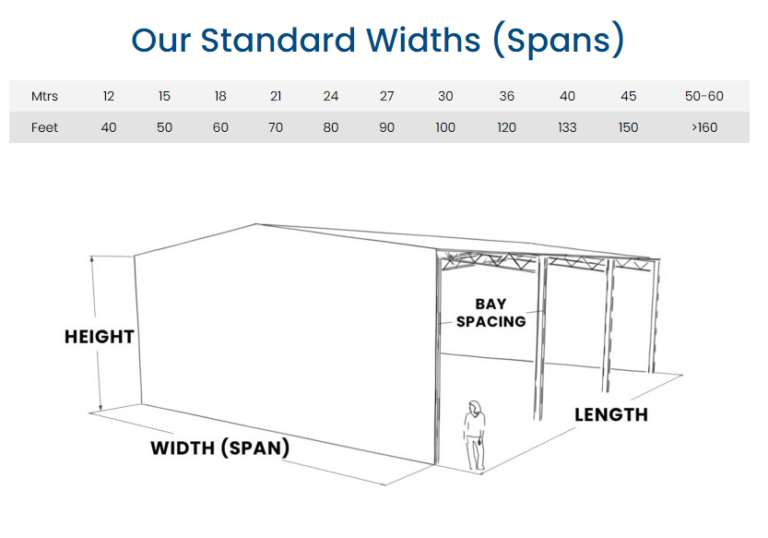
This fertiliser shed design also commonly includes a steep roof pitch to accommodate the angle of repose of the fertiliser and grain being stored in the shed. A steep roof pitch can also provide additional clearance for tipping into the shed at the gable end.
Common roof pitches for these projects include 18 degrees, 20 degrees and 21 degrees depending on the products being stored and machinery access requirements.
2
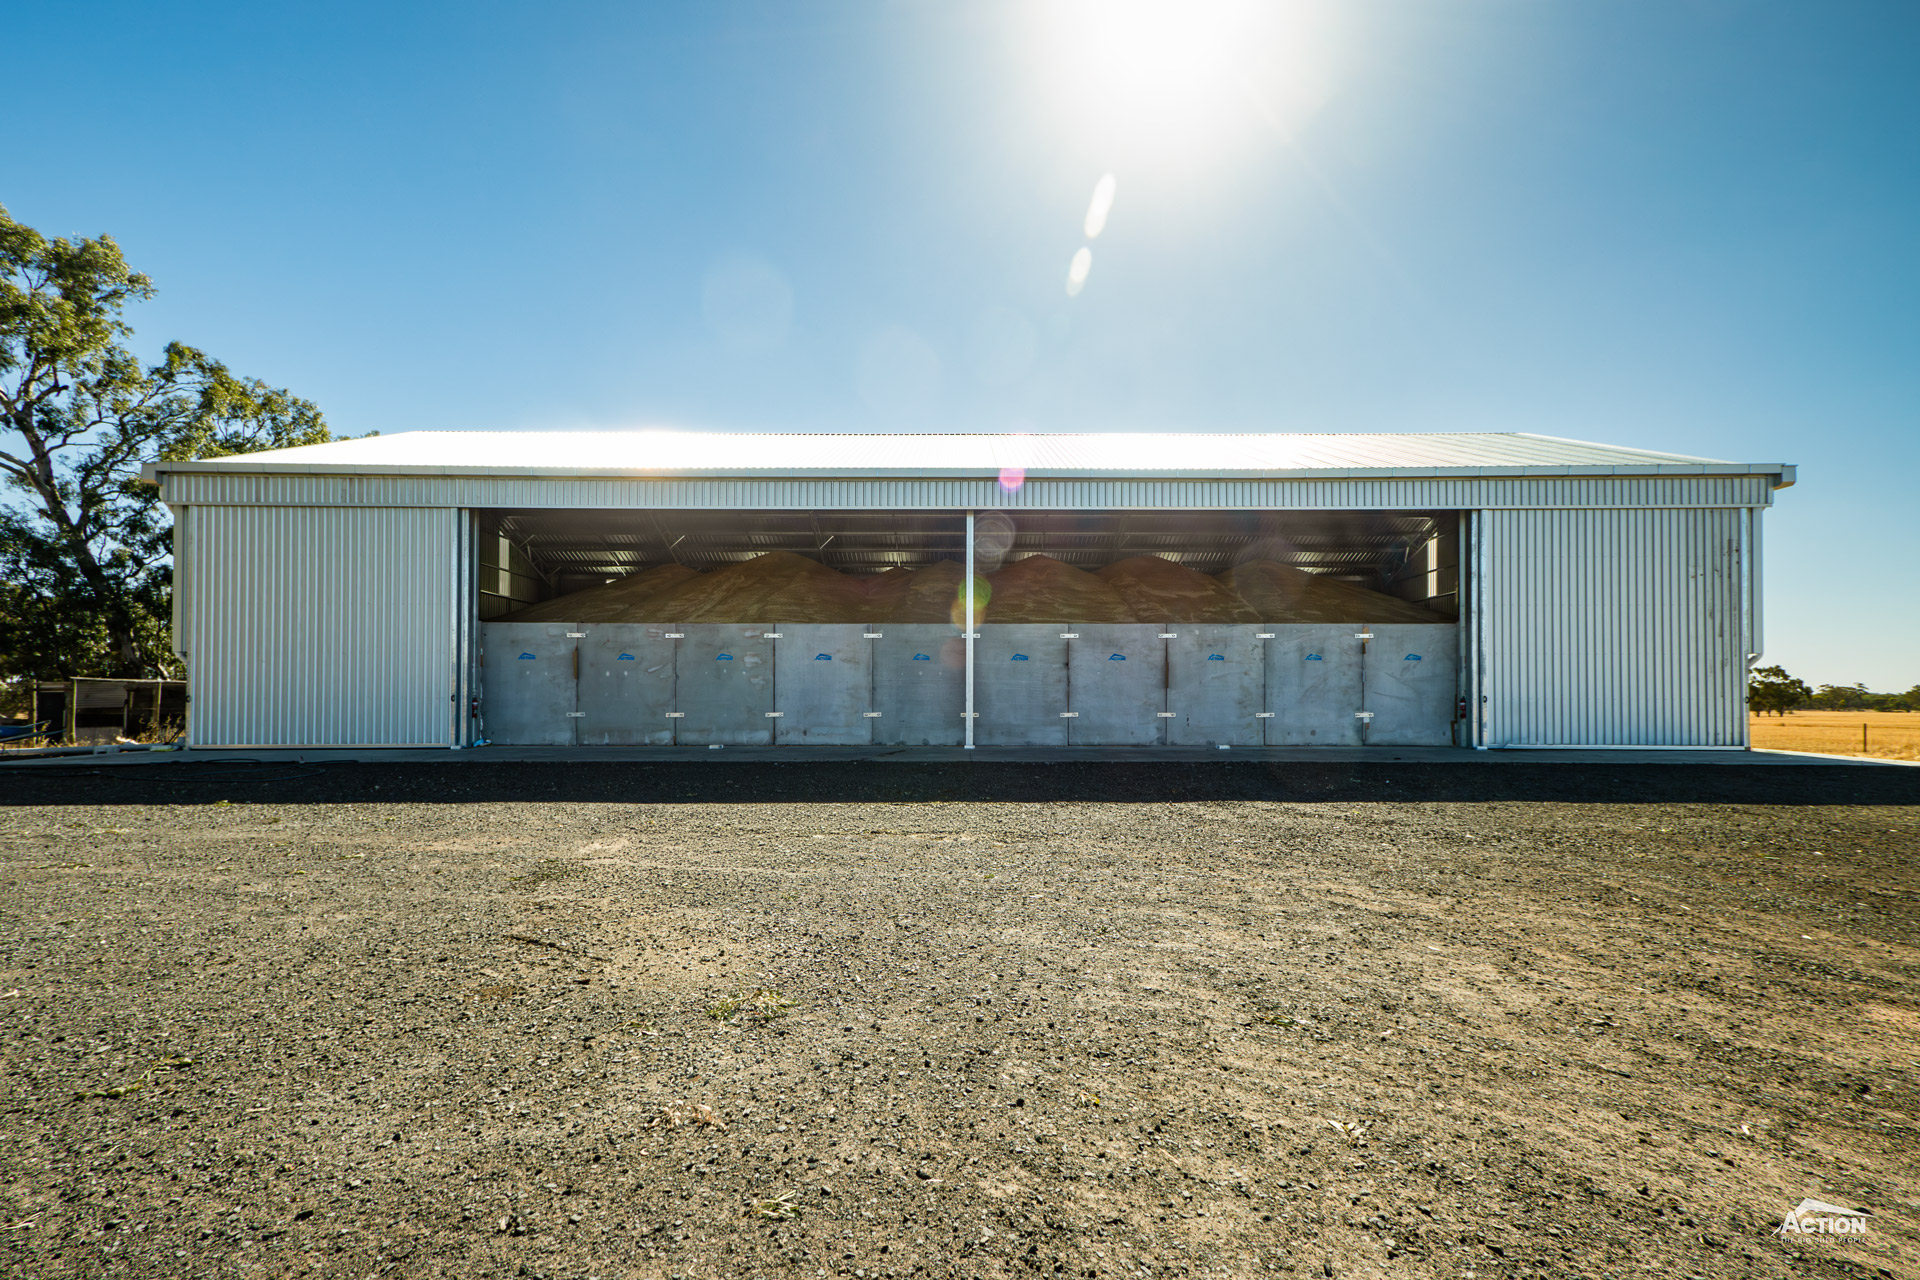
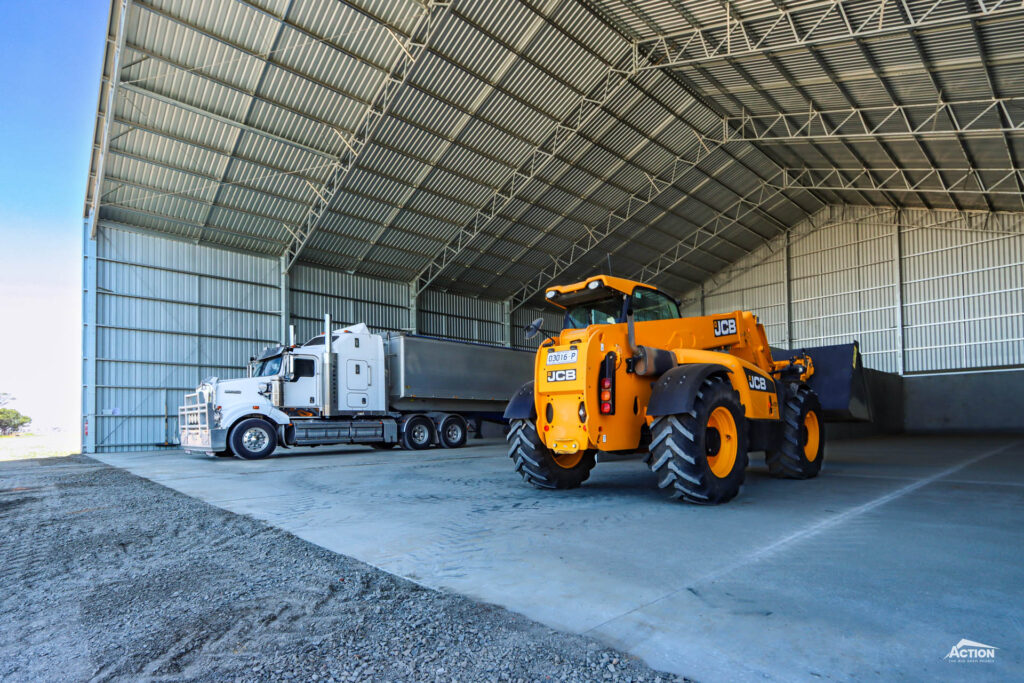
Concrete Panel Fertiliser Shed With Access From Two Gable Ends
The second shed design is a popular option for bulk storage sheds and has been effectively used for both grain storage and fertiliser storage for large cropping enterprises.
This fertiliser shed design typically includes:
- A fully enclosed configuration for the ultimate weather protection.
- 3-metre-high concrete panels to each side and a segregating wall in the middle of the shed.
- Sliding doors in both gable ends for accessing the storage areas.
- A steep roof pitch, usually 18 – 25 degrees to accommodate the angle of repose of the fertiliser or grain being stored.
A recommended customisation option for this fertiliser shed design is to use removable concrete t-walls to create more segregated areas as required. This provides much more flexibility, by giving you the option of either storing one bulk product or segregating multiple products.
3
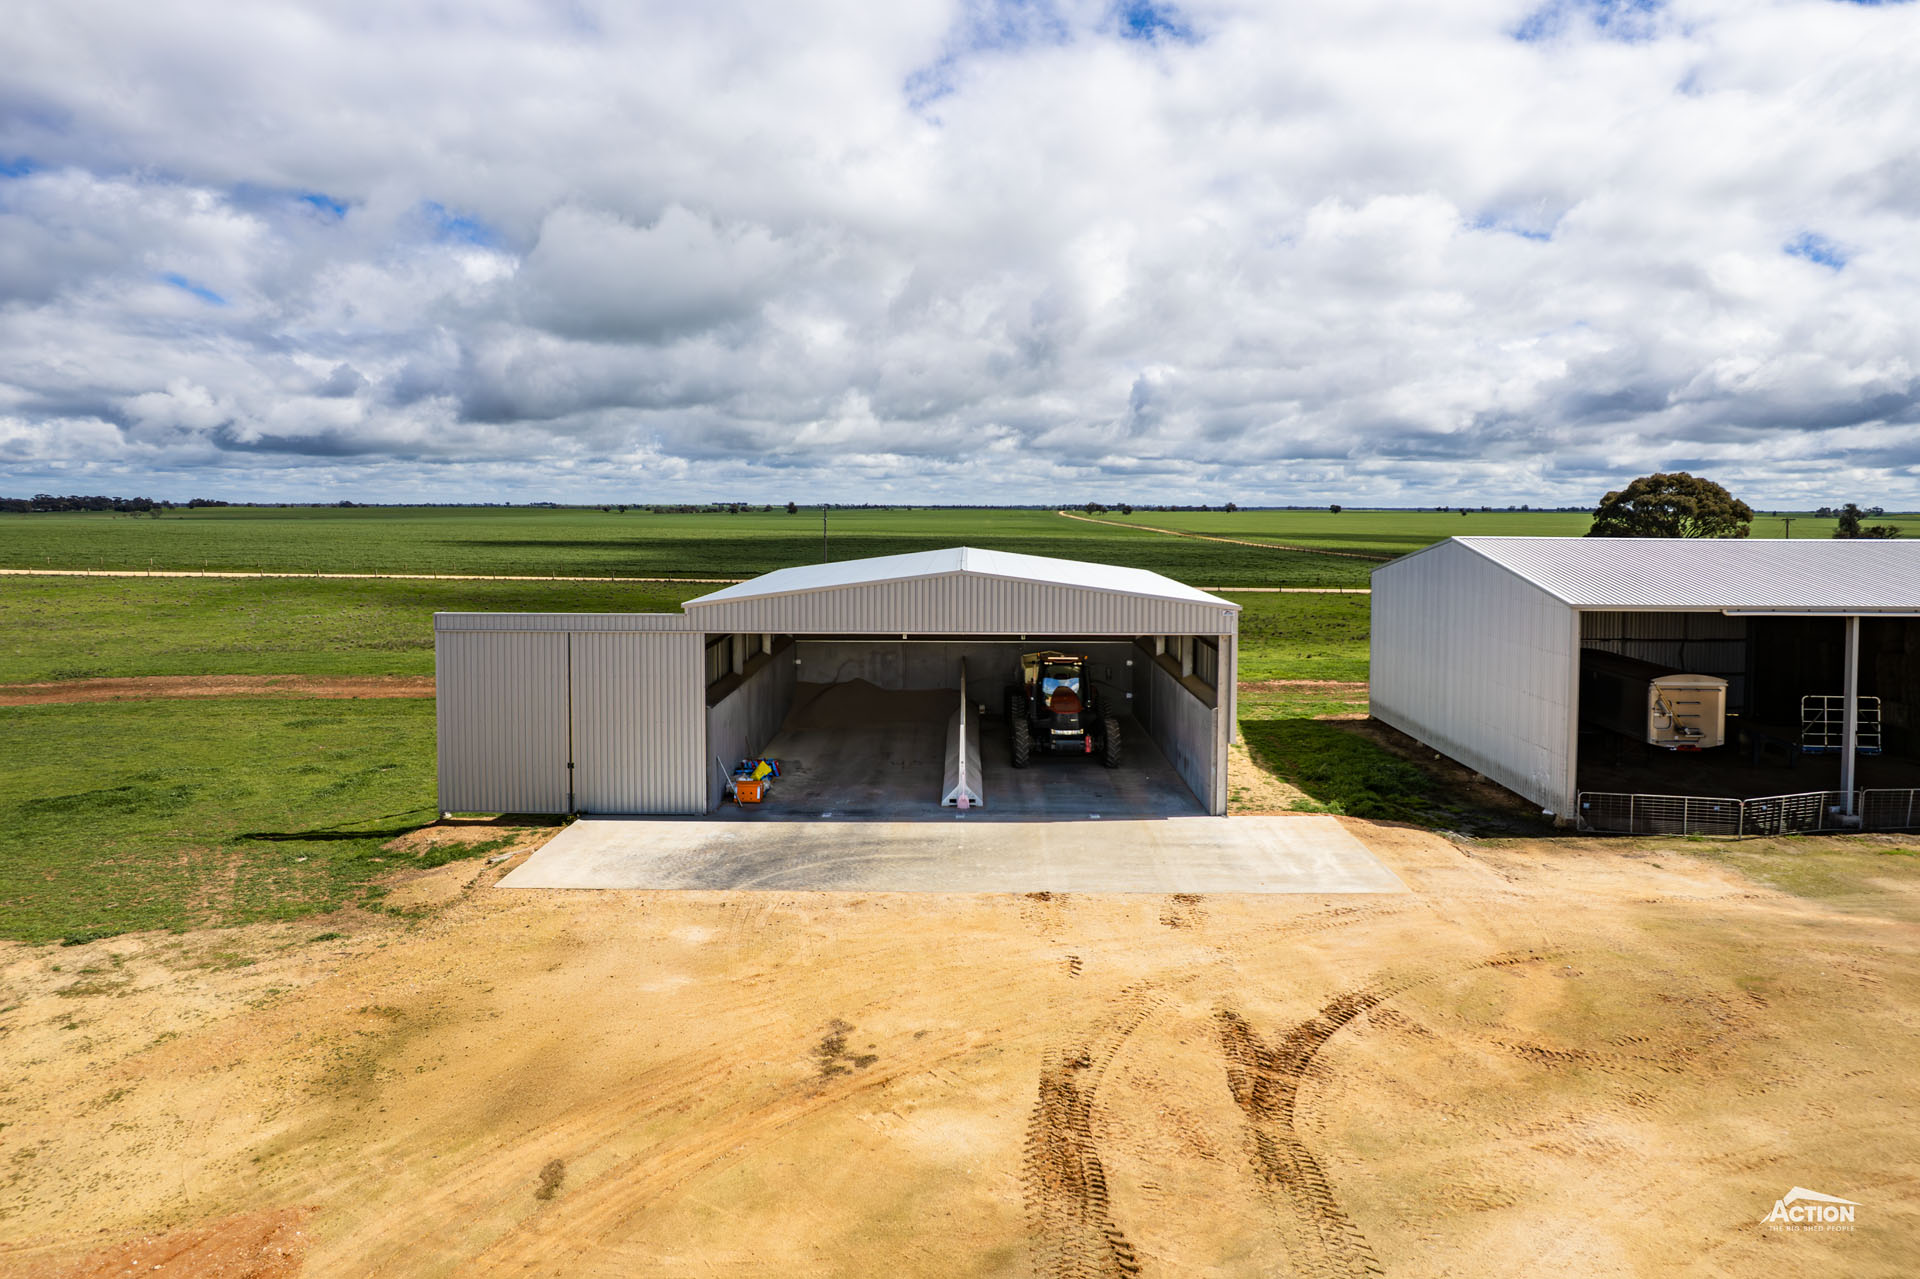
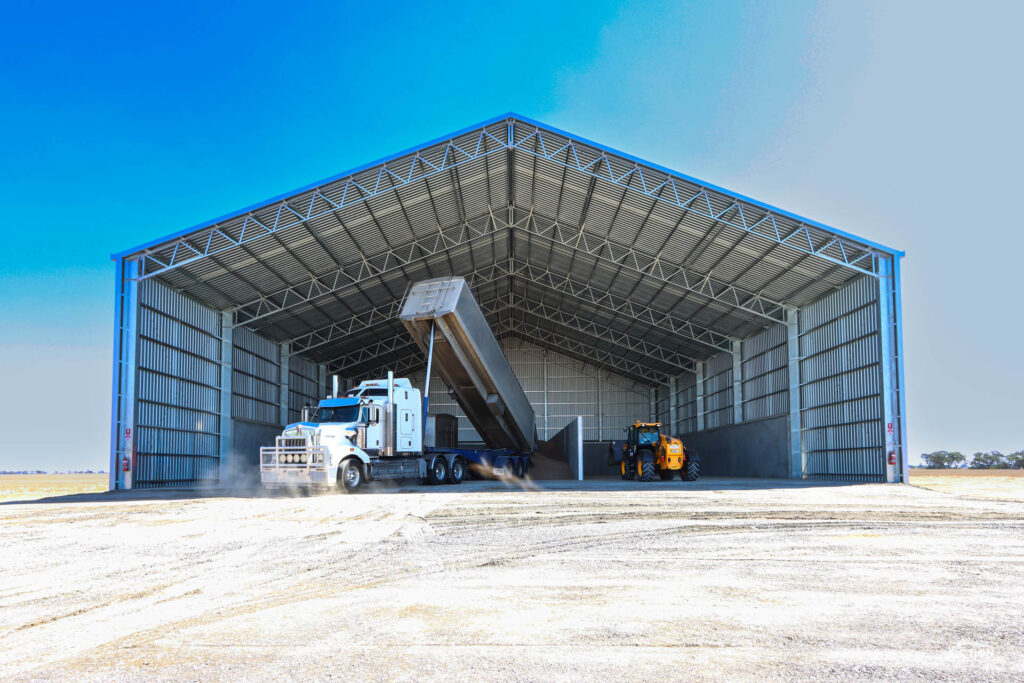
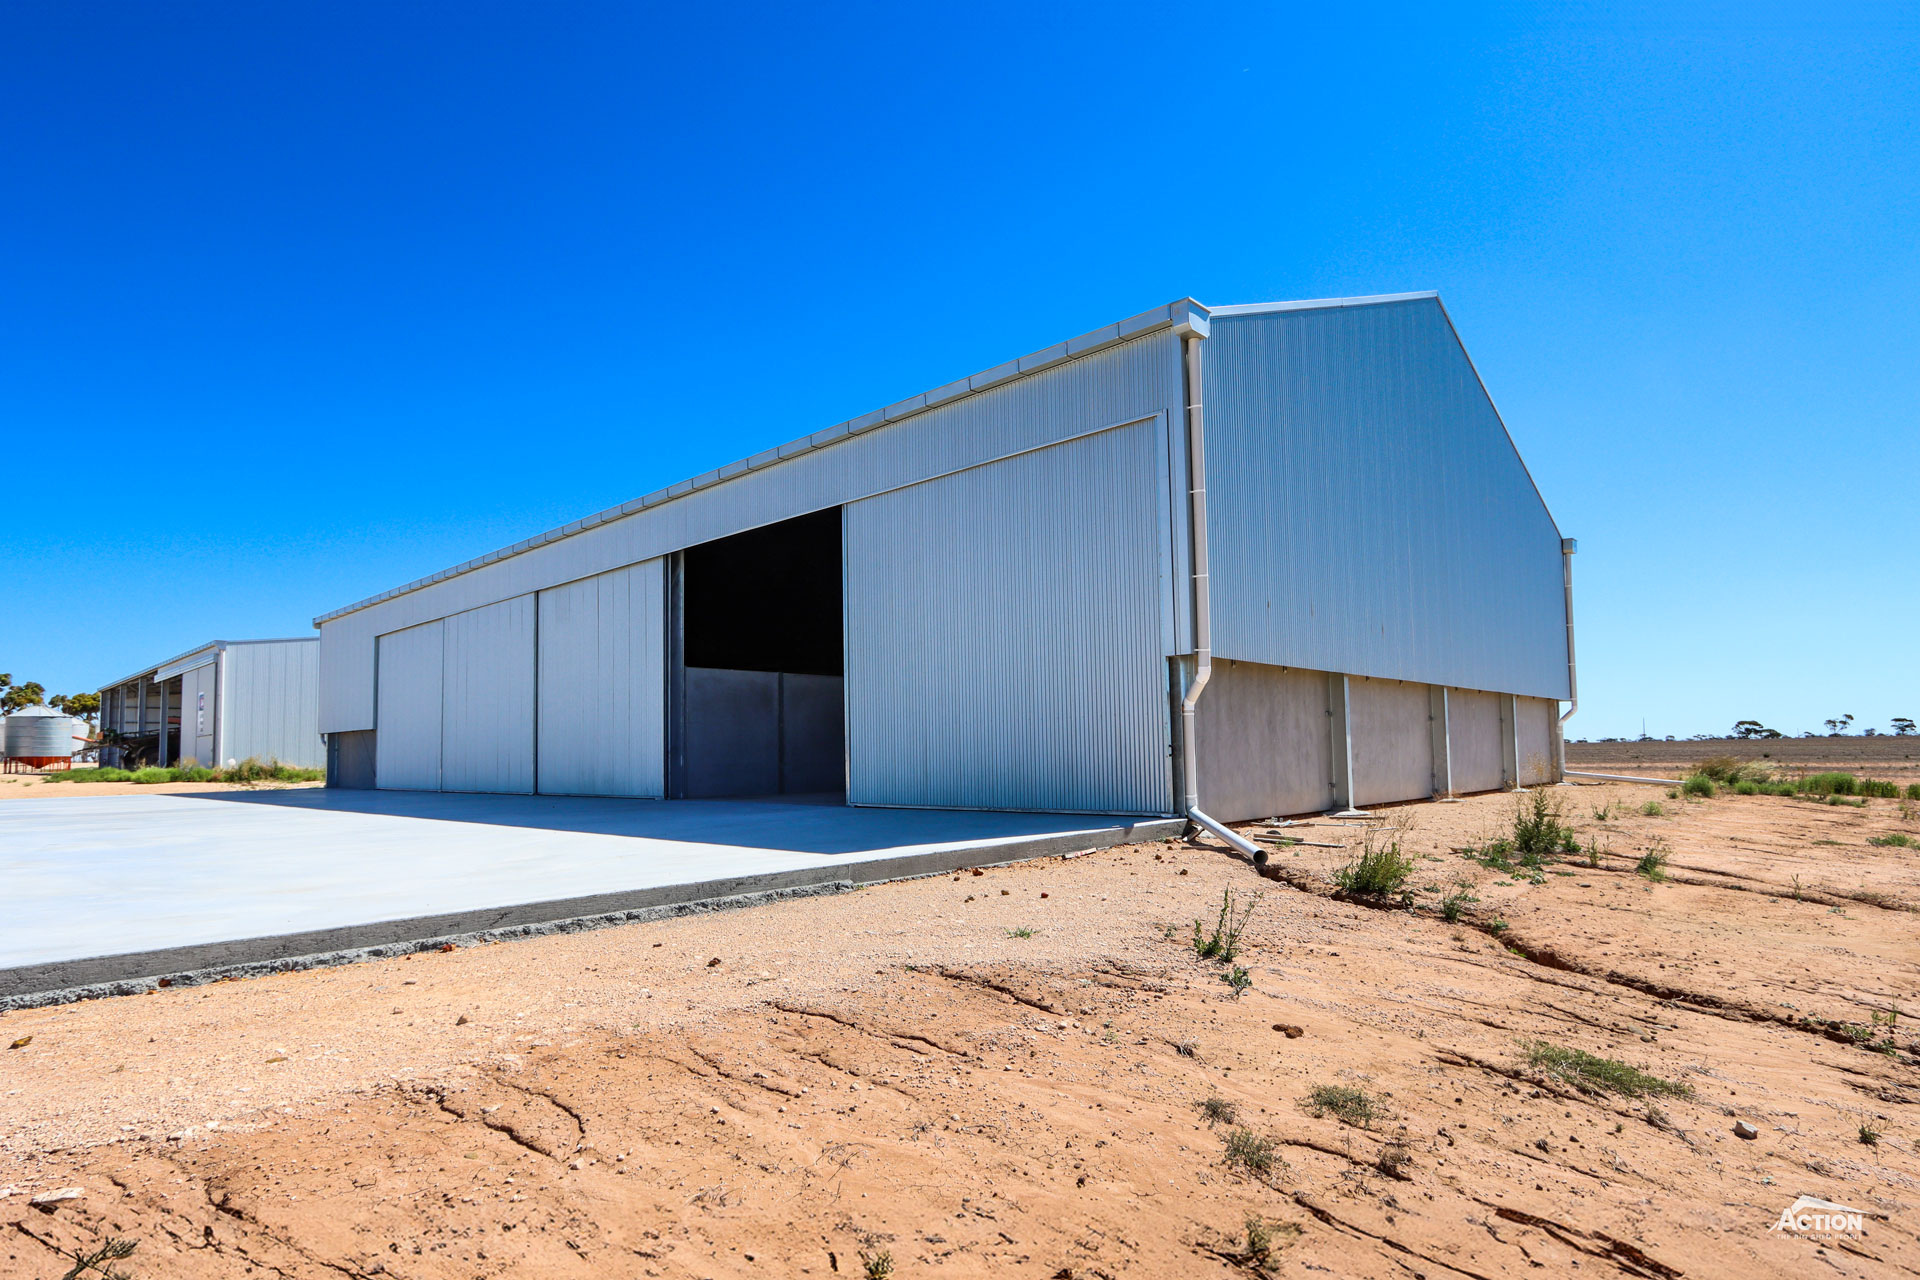
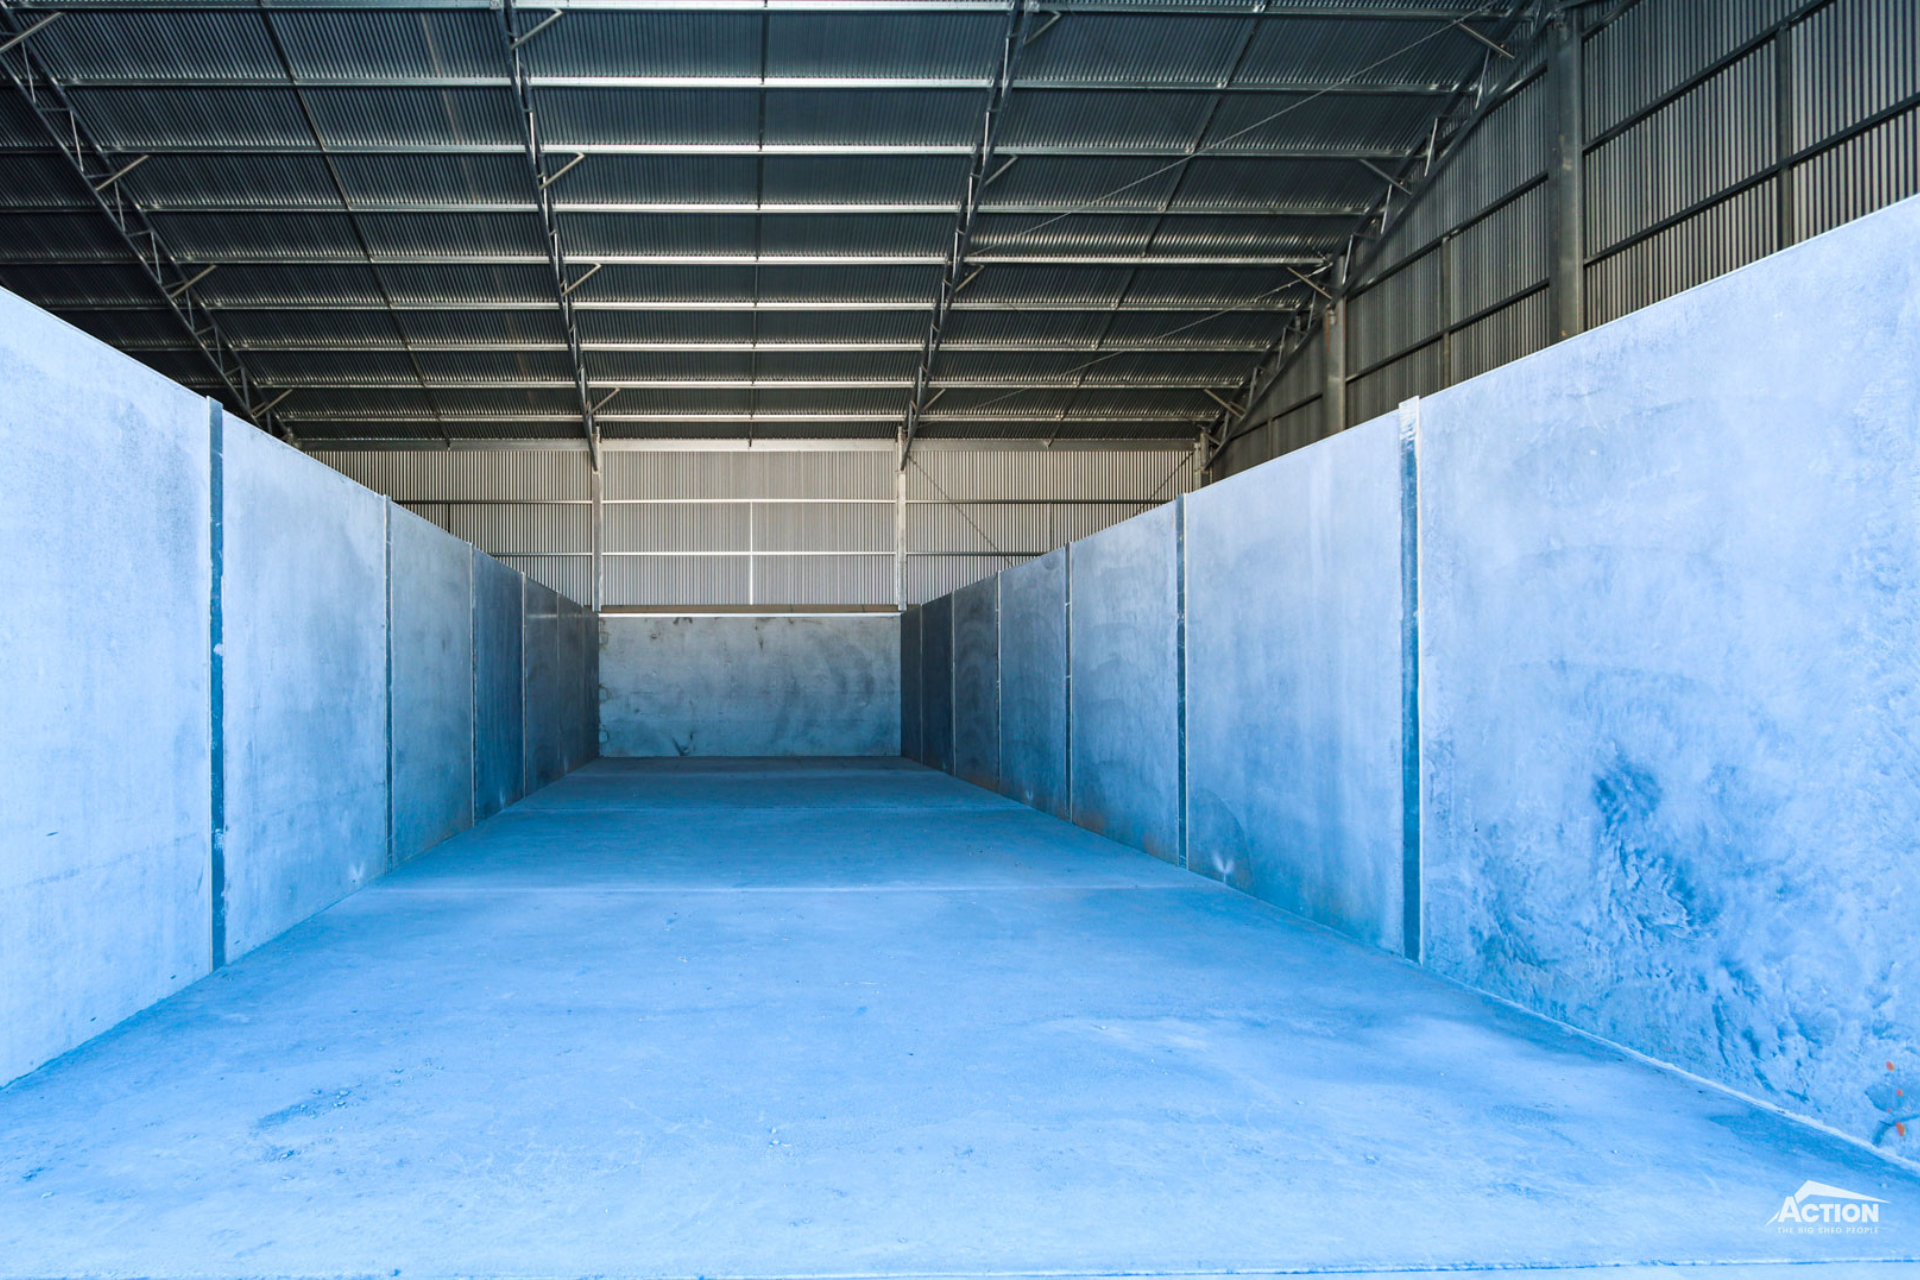
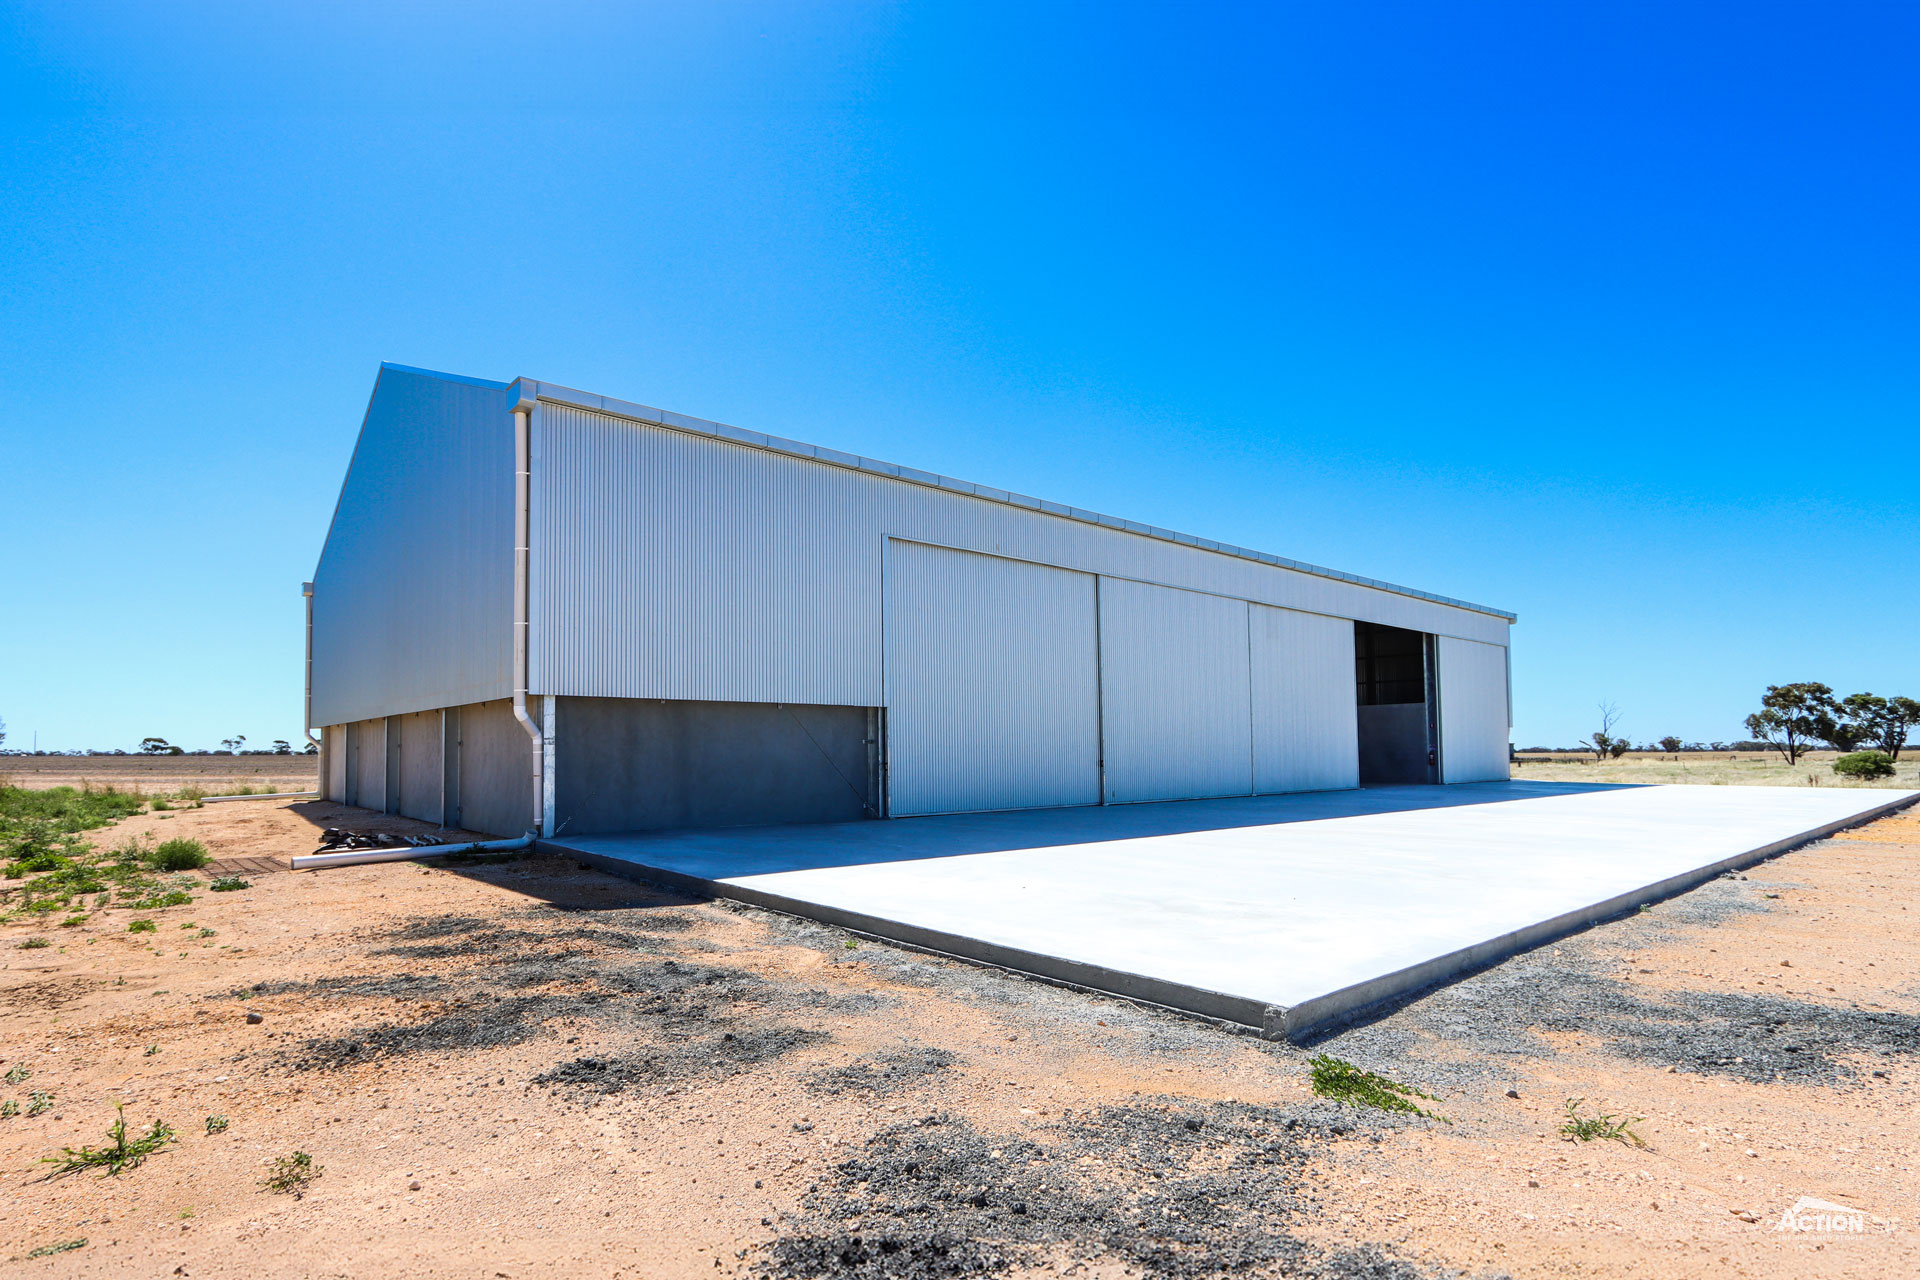
Concrete Panel Fertiliser Shed With Gable Access From One End
The third design we discuss in this article is the design we have included in our Standard Fertiliser Shed Range – a concrete panel fertiliser shed that is accessed from one gable end.
We’ll provide a brief overview of this design and then dive into the sizes available.
This fertiliser shed design consists of:
- 3-metre-high concrete panels on three sides
- An option of either an open gable end or sliding doors with an outrigger system.
The benefit of installing sliding doors is the superior weather protection they provide. An outrigger system also provides a wide access opening.
The open gable end option usually includes additional height and a steeper roof pitch. The advantage of this is that it allows you to tip into the shed.
If you do opt for the open gable end option rather than the sliding doors, we typically add an extra bay to the front of the shed to provide additional weather protection.
Removable concrete t-walls are also a recommended inclusion for this fertiliser shed design to give you the option of storing one bulk product or multiple products.
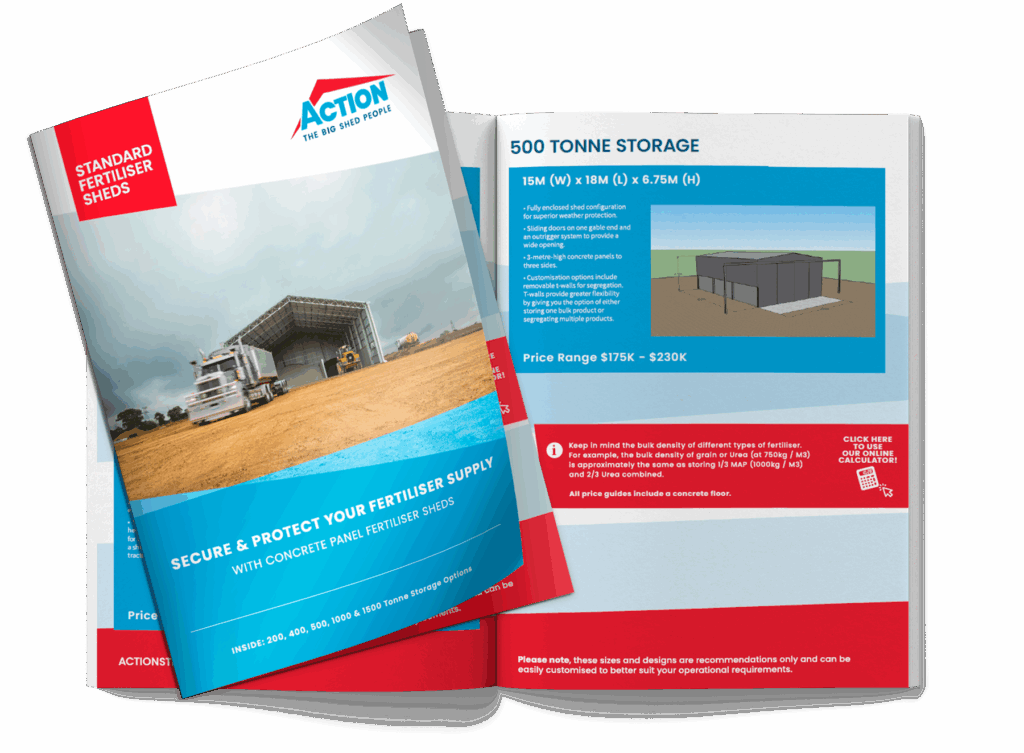
As mentioned above, this design and variations are included in our Standard Fertiliser Shed Range. You can learn more about these sheds by downloading the brochure below.
Standard Fertiliser Shed Range
In this brochure you will find smart fertiliser designs, sizes and prices for:
- 200 Tonne Storage
- 400 Tonne Storage
- 500 Tonne Storage
- 1000 Tonne Storage
- 1500 Tonne Storage
Please note that these sizes and designs are recommendations only and can be easily customised to better suit your operational requirements.
Fertiliser Storage Calculator
If you aren’t sure what size fertiliser shed you require or which of our standard fertiliser sheds will suit your operation, try out our fertiliser storage calculator.
It is also a good idea to keep in mind the bulk density of different types of fertilisers – particularly when storing multiple products.
For example, the bulk density of grain or Urea (at 750kg / M3) is approximately the same as storing 1/3 MAP (1000kg / M3) and 2/3 Urea combined.
Try the calculator below.
Fertiliser Calculator
To help you determine the best shed size for storing fert, use this calculator.
Enter your shed size and fert type and the storage volume and total tonnage will be calculated.
Useful Resources
- How Much Do Concrete Panels For Sheds Cost?
- UB Rafter Sheds Versus Open Web Truss Sheds
- 2025 Fertiliser Shed Guide (PDF Download)
We hope these fertiliser shed designs and resources are a handy starting point for your project planning! For more articles and information browse the Learning Hub.
Or to speak with someone about your fertiliser shed design, call 1800 687 888.